My Map Overlays
Click My Map Overlays under Preferences to open the My Map Overlays page, where you can add, edit, or remove map overlays. A map overlay is a collection of saved shapes. You can create multiple overlays containing relevant shapes for your market. For example, you can save a set of shapes defining golf course neighborhoods or school districts. These shapes are then available when performing searches or when using statistical gadgets on the dashboard. You can also share map overlays with other members of your office.
Tip
The following Guided Help tours are available for this function in Flexmls. When you click on a link, an instance of Flexmls will open in a new browser tab and instruction bubbles will guide you through the process.
On the My Map Overlays page, click New to create a map overlay, or click Edit, Rename, or Remove to perform the corresponding actions on an existing overlay.
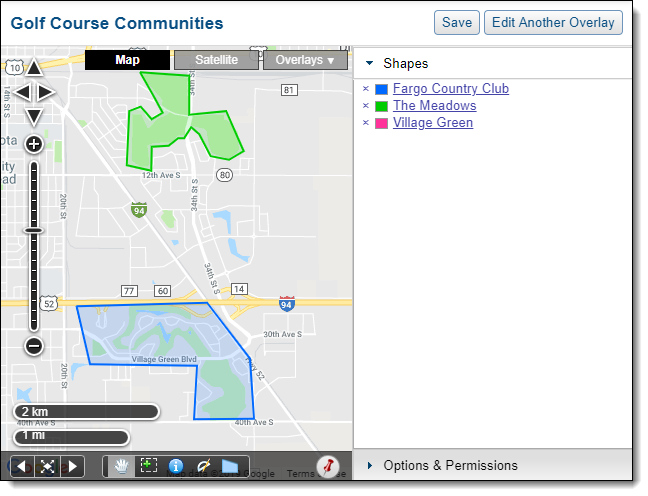
Use the zoom and pan tools to move the map, then use the polygon tool to define shapes. To use the polygon tool, start by clicking on it in the map toolbar. Click once on the map to define the first corner of the polygon. As you move the mouse, a line is created from the starting point. Click again to set the next corner of the shape. Each time you click when using the polygon tool, you set another corner of the shape. Use as many points as you need to define a curve, neighborhood boundary, or other edge. Double-click to finish the polygon.
Once the shape is complete, click on it and click Edit to give the shape a name and a color. It is important to clearly name each polygon in your overlay, so that you can identify the shapes when you use them in a search or statistical gadget. Repeat the process as you draw additional shapes on the overlay. To make the overlay accessible to contacts when they are using Flexmls IDX searches and portals, click Options & Permissions and mark the Public Access option. When you are done creating shapes, click Save in the upper right corner of the page.

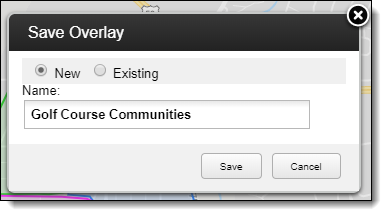
If you are editing an existing overlay, you can save it with a new name by selecting the New radio button. Name the overlay and click Save again. If you have changed the boundaries of a shape, all saved searches and gadgets that use the shape will be updated immediately.
You can edit the boundaries of shapes as needed. To remove a shape from the overlay, click the X next to the shape name in the list on the right side of the page.
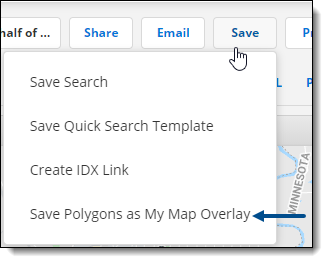
You can also save a polygon as a map overlay from a search results page. After you have drawn a polygon on the map, click Save, then choose Save Polygons as My Map Overlay.
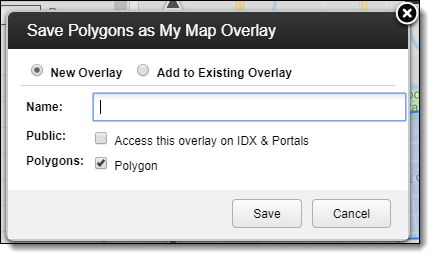
You can save any or all the polygons that are currently displayed on the map. You can create a new overlay or add the polygons to an existing overlay. When saving a new overlay, you can specify whether that overlay will be available on public-facing sites (IDX and portals).
When using a Quick Search, the Location Search bar appears at the top of the search criteria panel. Use the Location Search bar to access map overlays. Type in the text box or click Browse to view a list of available options.

Double-click on a shape name in the list to add it to your search. To select multiple items, hold down the control key as you click items. When multiple items are selected, press Enter on the keyboard to add the selections to your search.
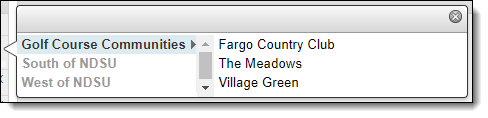
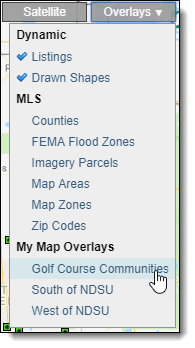
To browse through overlay shapes visually, click the Overlays drop-down on the map and choose an overlay from the list.
When you save a search that includes a shape from a map overlay, any changes you make to the overlay will be reflected on all the saved searches that use it.
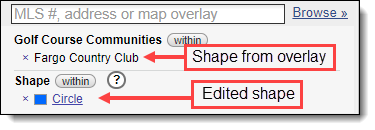
You can also make a change to a shape for a single search. For example, if you have a client who wants to live in an outlined neighborhood, but only in one section, you can click on the shape and edit the boundary. As soon as you change the color, boundaries, or name of the shape, the shape is saved separately for the current search. In the list of search criteria, the modified shape is listed under the general heading "Shape."
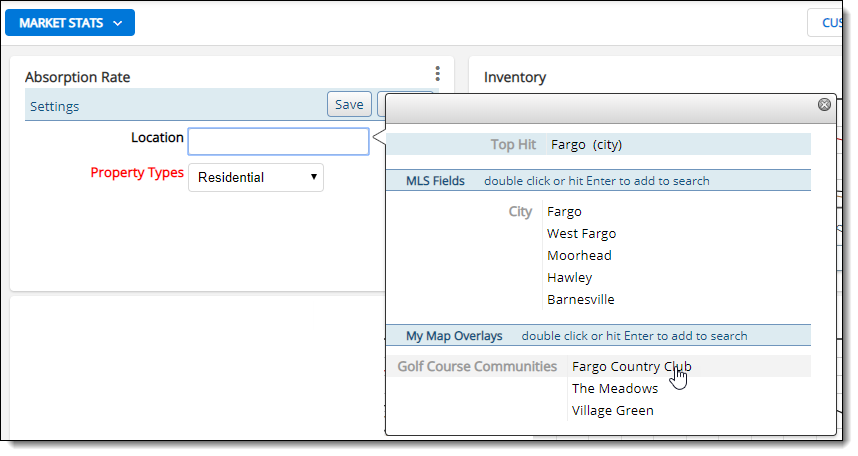
You can also use overlays in statistical gadgets on the dashboard to display statistics for a selected location. For example, in the Absorption Rate gadget, click Settings, then type in the Location box to locate the overlay shape or shapes to use.
Double-click on a shape name in the list to add it to the gadget. To select multiple items, hold down the control key as you click items. When multiple items are selected, press Enter on the keyboard to add the selections to the gadget. Click Save to save the settings.
Click Give to someone to share an overlay with other members within your office. Start typing the name of the member you want to share with. Click the member name, then click Give.