Office/Member Search
Click Office/Member Search under Search or click Member Lookup under Daily Functions to find contact information or listings for an office or member.
The first time you open the Office/Member Search page, the list of offices is displayed by default. Click the Members tab to search for members or click the Teams tab (if available in your MLS) to search for teams. The next time you visit the page, your selection will be remembered.
Tip
The following Guided Help tours are available for this function in Flexmls. When you click on a link, an instance of Flexmls will open in a new browser tab and instruction bubbles will guide you through the process.
Search Options
Search box
At the top of the page, you can use the Search box to search the current tab by name, short ID, phone number, ZIP code, or email address (if allowed by your MLS).
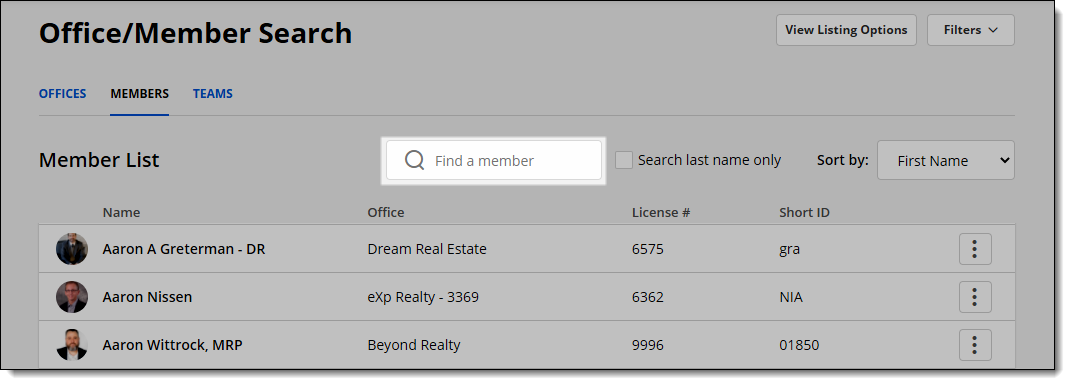
When you type text into the Search box, all available fields are searched by default. To search by member last name only, select the Search last name only checkbox.
Note
Your search is remembered for 10 minutes. If you navigate away from the page and come back within 10 minutes, the last search will run again automatically. After 10 minutes, your search is cleared.
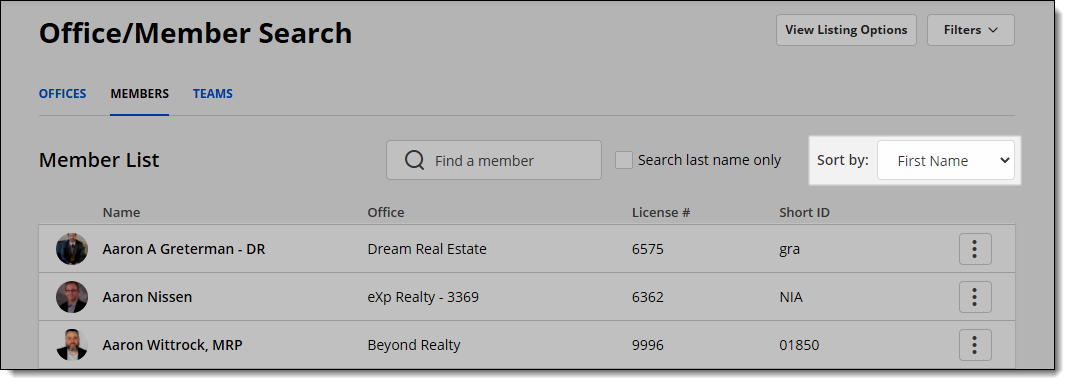
Sort by
Next to the Search box, click the Sort by menu to sort the list. By default, every tab is sorted alphabetically by name. You can also sort the Members tab by office name, and you can sort the Teams and Offices tabs by city. If you select a different sorting option, your preference will be saved, and that sorting option will be used the next time you go to the page.
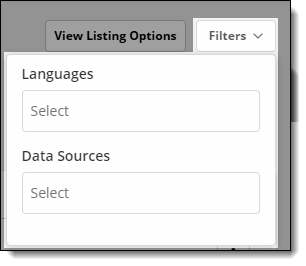
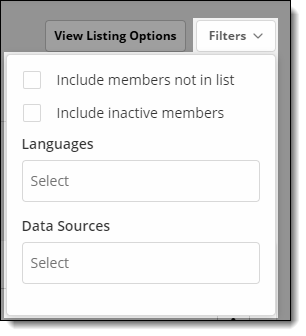
Filters
Click the Filters button at the top right to further customize your search results. You can filter by member languages or include members from data share MLSs in the search (if available in your MLS).
Administrators can select to include “not in list” or inactive members. If inactive or "not in list" members are shown, they will be marked with an exclamation point icon.
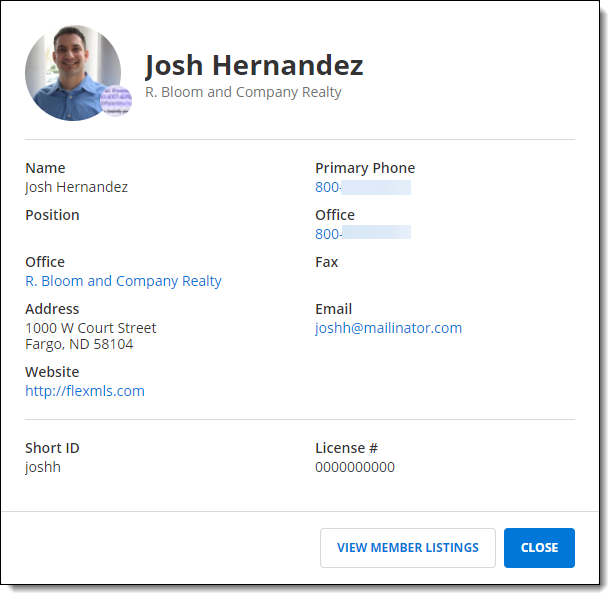
View Office, Team, or Member Profile Information
Click on an office, member, or team to view profile information. When you view an office profile, tabs for Office Members and Office Teams will be available. When you view a team profile, a Team Members tab will be available. Click a member name in any list to view that member’s profile information.
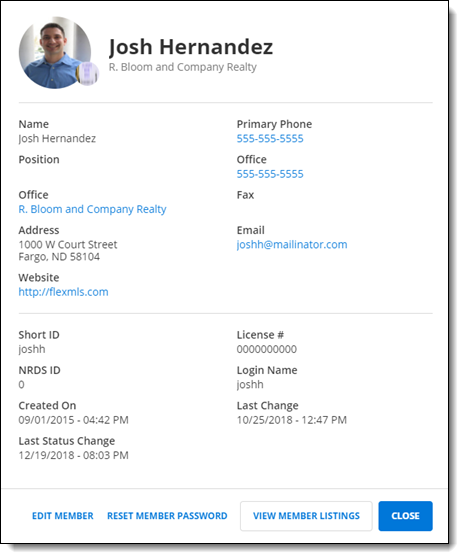
MLS administrators can edit the office/member or reset their password from the details page. An administrator can also view additional information, such as the NRDS ID, the login name, the date created, and the last time the user account was changed.
View Listings
If your MLS allows listings to be viewed from the Office/Member Search page, you can click the More (three vertical dots) menu to view listings for the selected office, member, or team. If you have access to edit offices, members, or teams, you will also see an Edit option in this menu. (Options will vary based on the tab that is selected.)

Click the View Listing Options button at the top of the page to set your preferences for viewing office, member, or team listings. Select the transaction roles (listing member, co-listing member, selling member, co-selling member) and listing statuses you want to include by default.
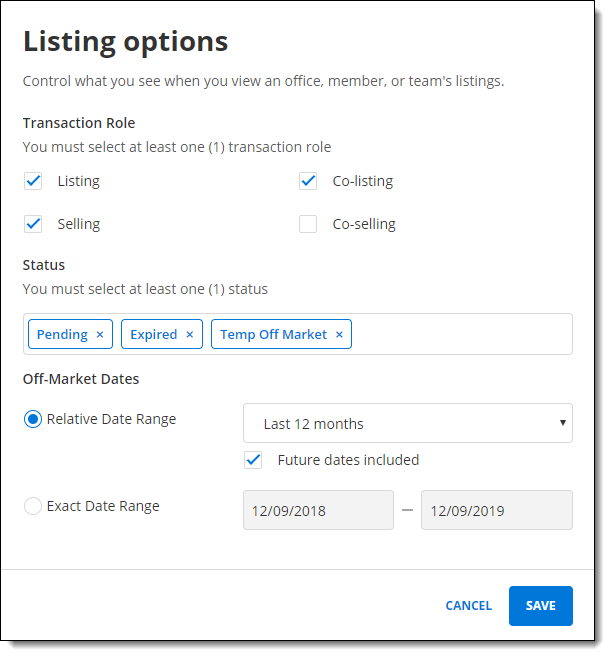
If your MLS allows searching off-market listings from the Office/Member Search, and you select an off-market status such as Expired or Closed, you can also select a date range. Click Exact Date Range to set specific start and end dates for the date range. Click Relative Date Range to set a date range that is relative to the current date, such as In the last month, Last 6 months, Year to Date, or Last 12 months. Click Future dates included to include off-market dates up to 10 years in the future. For example, if you select In the last month and Future dates included, the date range will start one month before the current date and end 10 years in the future.
Click Save to save changes to your settings. These settings will be used every time you use the Office/Member Search.