Add Documents to a Listing
To add or change the documents for a listing that has an MLS number, start on the Change Listing page. To go to the page, click Change Listing under Add/Change on the menu. Then enter the MLS number or click on the listing in the My Listings section of the page. To add photos to an incomplete listing, click My Incomplete under Add/Change on the menu, then select the listing and click Edit.
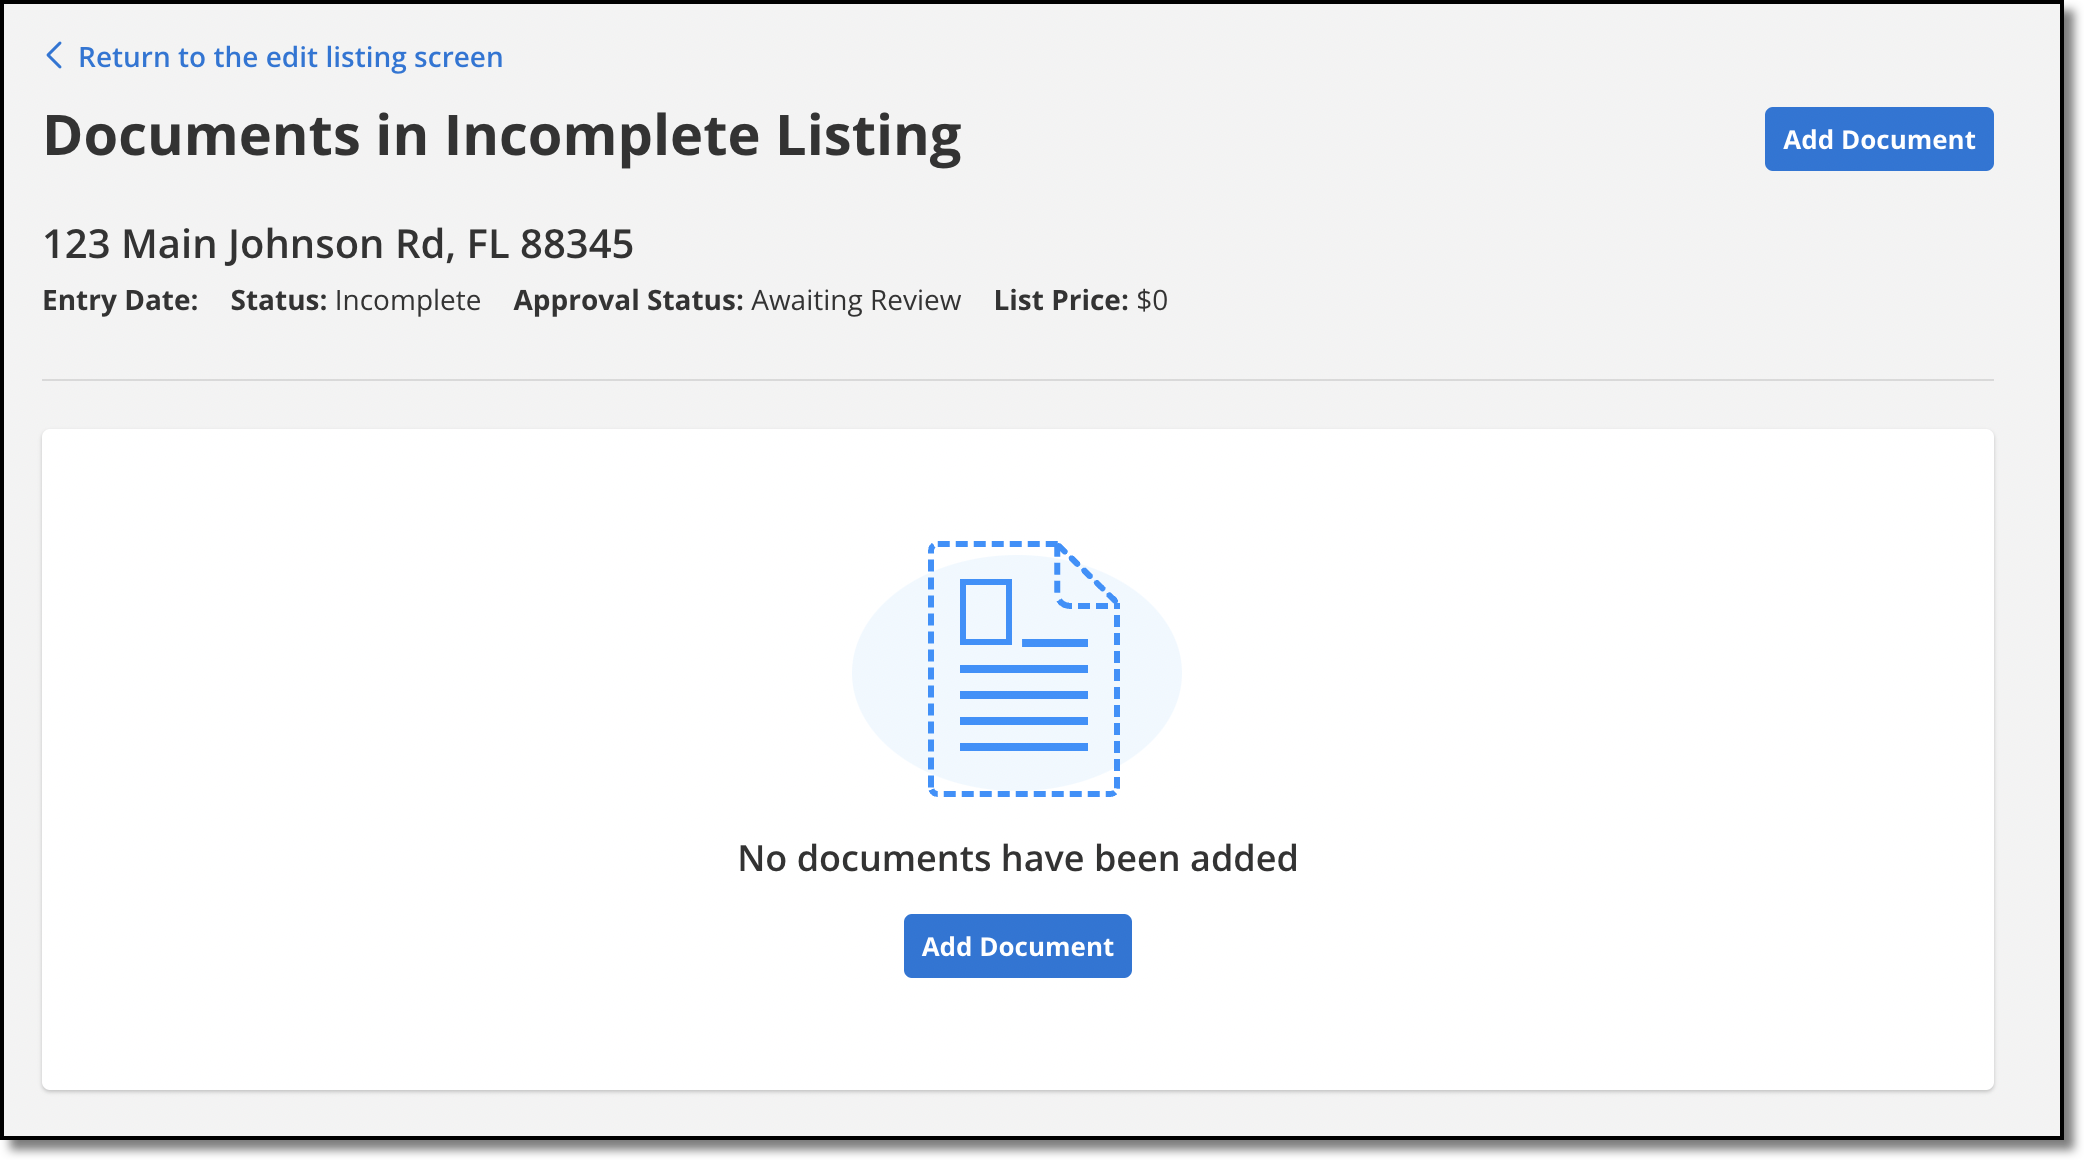
The Documents link in the Media section of the Change Listing page opens the document library for the listing. In the left pane, the Added Documents list shows documents that have been uploaded to the listing.
Add a Document
To add a new document to the listing, click the Add Document button.
Click Choose File and navigate to the document that you want to upload.
You can upload .pdf files or, as allowed by your MLS, document image files (.png, .bmp, .gif, or .tif). Files should be approximately 750 x 1000 pixels and a minimum of 300 dpi. The maximum file size for a listing document is 10MB.
Type a description for the document or use the drop-down list to select a document description provided by the MLS.
If available, select the confidentiality level of the document. The following options may be available, depending on your MLS:
Public - There are no restrictions on who can view the document. It can appear on public websites, in public or private email messages, and to members of any MLS that your MLS shares data with.
MLS data share - The document will be visible to members of your MLS and members of data sharing MLSs. The document cannot be viewed on public-facing websites or in public e-mail messages.
Private - The document will be visible only to members of your MLS. The document cannot be viewed on public websites, in public email messages, or through MLS data sharing.
Has edit permission - The document can be viewed only by members who have edit permissions for the listing, including the listing member, the broker, and the MLS administrator. The document cannot be viewed on public websites or by other members of the MLS.
Click Add to finish adding the document to the listing. You can attach as many documents as necessary. Change the order of the documents by using the arrow controls on the left side of the document editor, or by dragging and dropping the name of the document.
Required Documents
Your MLS may require certain documents to be uploaded before a listing can be added to the MLS. If documents are required for the listing, they are displayed in the Required Documents list at the bottom of the left pane. A green check mark is displayed next to required documents that have already been uploaded.
Important
In order for Flexmls to recognize a required document, you must select the predefined document description from the Description list. If you type a document description that does not exactly match the predefined document, the requirement will not be met.
Once you have uploaded a required document and saved the listing to the MLS, you cannot remove the required document. If you need to replace a required document, select it and click Edit/Replace to upload a new file. Check the Replace Document option and click the Choose File button to locate the new document. Then click Save Changes.