RETS User Permissions
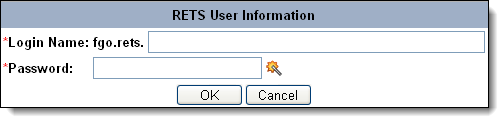
Click User Permissions under RETS on the Admin menu to set RETS access criteria for specific users. To add a new user, click Add. A window will appear where you can enter a login name for the user. Enter a password or click the wand icon to generate a random password for the user.
To edit an existing user's options, select the user from the list. The User Permissions page is divided into four tabs: General, Restrictions, Access Schedule, and Property Media. Be sure to click Save when you are finished making changes.
General Tab
On the General tab, select the template that this user will use to access RETS data. Use the Associated Login Name field to connect the RETS login name to an MLS member. The Row Limit box allows you to constrain the number of rows that are available to the user. The row limit defaults to zero, which means that it will use the server limit (10,000 rows). If no row limit is in place at the user level, the row limit for the template will be used.
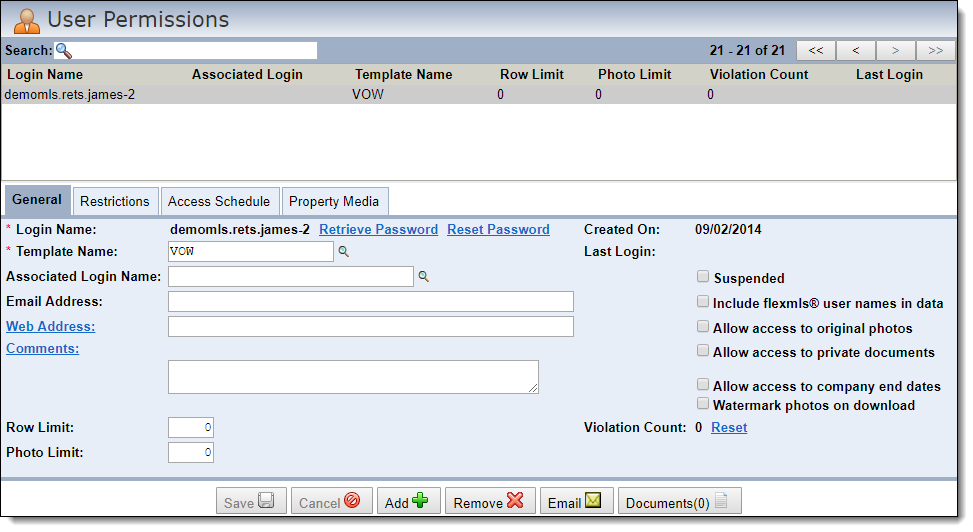
Click the Suspended check box to suspend the user's access to the RETS feed. You can reinstate access by removing the check from this box. Below the check box, you can view a count of the user’s violations.
Note
A user's access to a RETS feed may also be suspended automatically, such as when the associated Flexmls user account is deactivated. The Suspended check box will not be selected in that case. Instead, a red exclamation point icon will be displayed next to the Associated Login Name field.
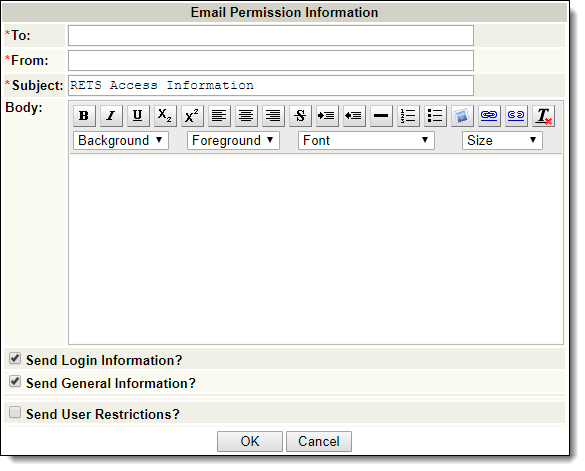
Click Email to send RETS credentials to an email address. Enter a recipient address and sender address, then select the information that you want to send. Type and format a message, if necessary. Click OK to send the message.
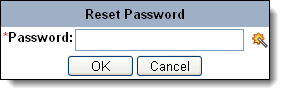
Click the Reset Password link to create or generate a new password for the selected user.
Restrictions Tab
On the Restrictions tab, you can limit the IP addresses and user-agents that are allowed access. To restrict the allowable IP addresses, type an IP address in the text box at the bottom of the panel, and click the green plus sign to add it. The list displays the IP addresses that can access the RETS data.
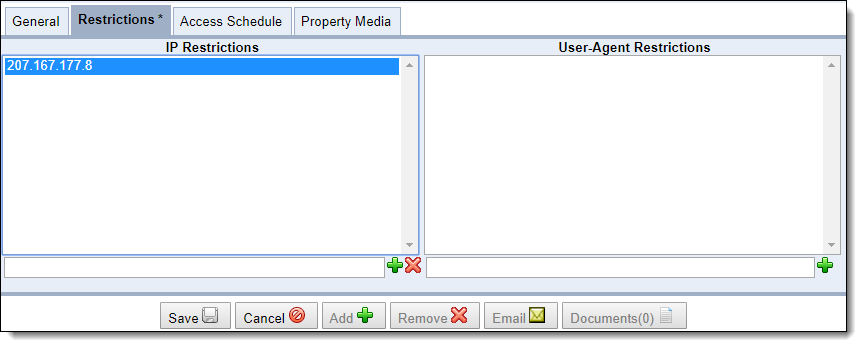
You can also set user-agent restrictions by typing the user-agent identifier in the box and clicking the green plus sign to add the restriction. When a restriction is in place, only data pulls with a matching user-agent identifier will be allowed access to the RETS data.
Access Schedule tab
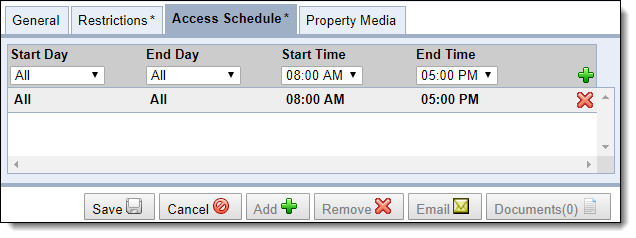
On the Access Schedule tab, set the Start Day, End Day, Start Time and End Time for the user. For example, to make the data available from 4:00 PM until 9:00 PM Monday through Friday, make the following selections:
Start Day: Monday
End Day: Friday
Start Time: 4:00 PM
End Time: 9:00 PM
You can add multiple access times using this method. If any scheduled times conflict with each other, the most restrictive of the times will take precedence.
Property Media Tab
On the Property Media tab, select the types of media that the user can access.
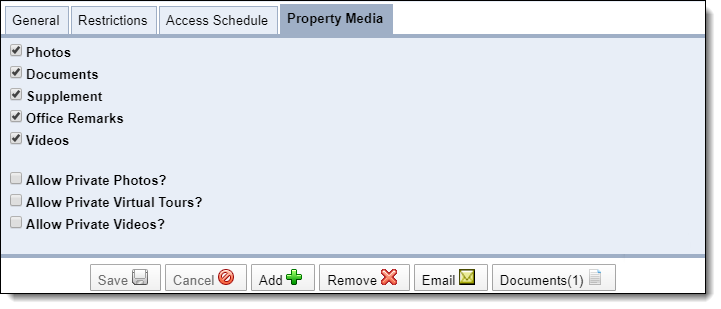
You can also allow access to private media on this tab. By default, private photos, videos, and virtual tours are visible only in Flexmls.
Important
Because most RETS data recipients provide products that display listing data publicly, they should not need access to private media. If third parties must access private media, we strongly recommend that you provide access via the Spark API instead. RETS does not allow a vendor to distinguish between public and private media, which means that RETS recipients will be unable to support privacy rules. Deliver private media via RETS only as a last resort when the API cannot be used.