Change Listing - General
To change the information that you entered when adding a listing, start on the Change Listing page. To go to the page, click Change Listing under Add/Change on the menu. Then, enter an MLS number or click on a listing in the My Listings section of the page.
The General section of the Change Listing page contains links to edit listing information, the supplement, map location (if your MLS has street mapping), geocode, and listing members.
Listing Information – Edit the information that was originally entered on the Add Listing page, including main fields, details, rooms, and broker distribution options. If you are editing an incomplete listing, click the Add Listing button on the Add Listing page when you are ready to assign an MLS number and publish the completed listing.
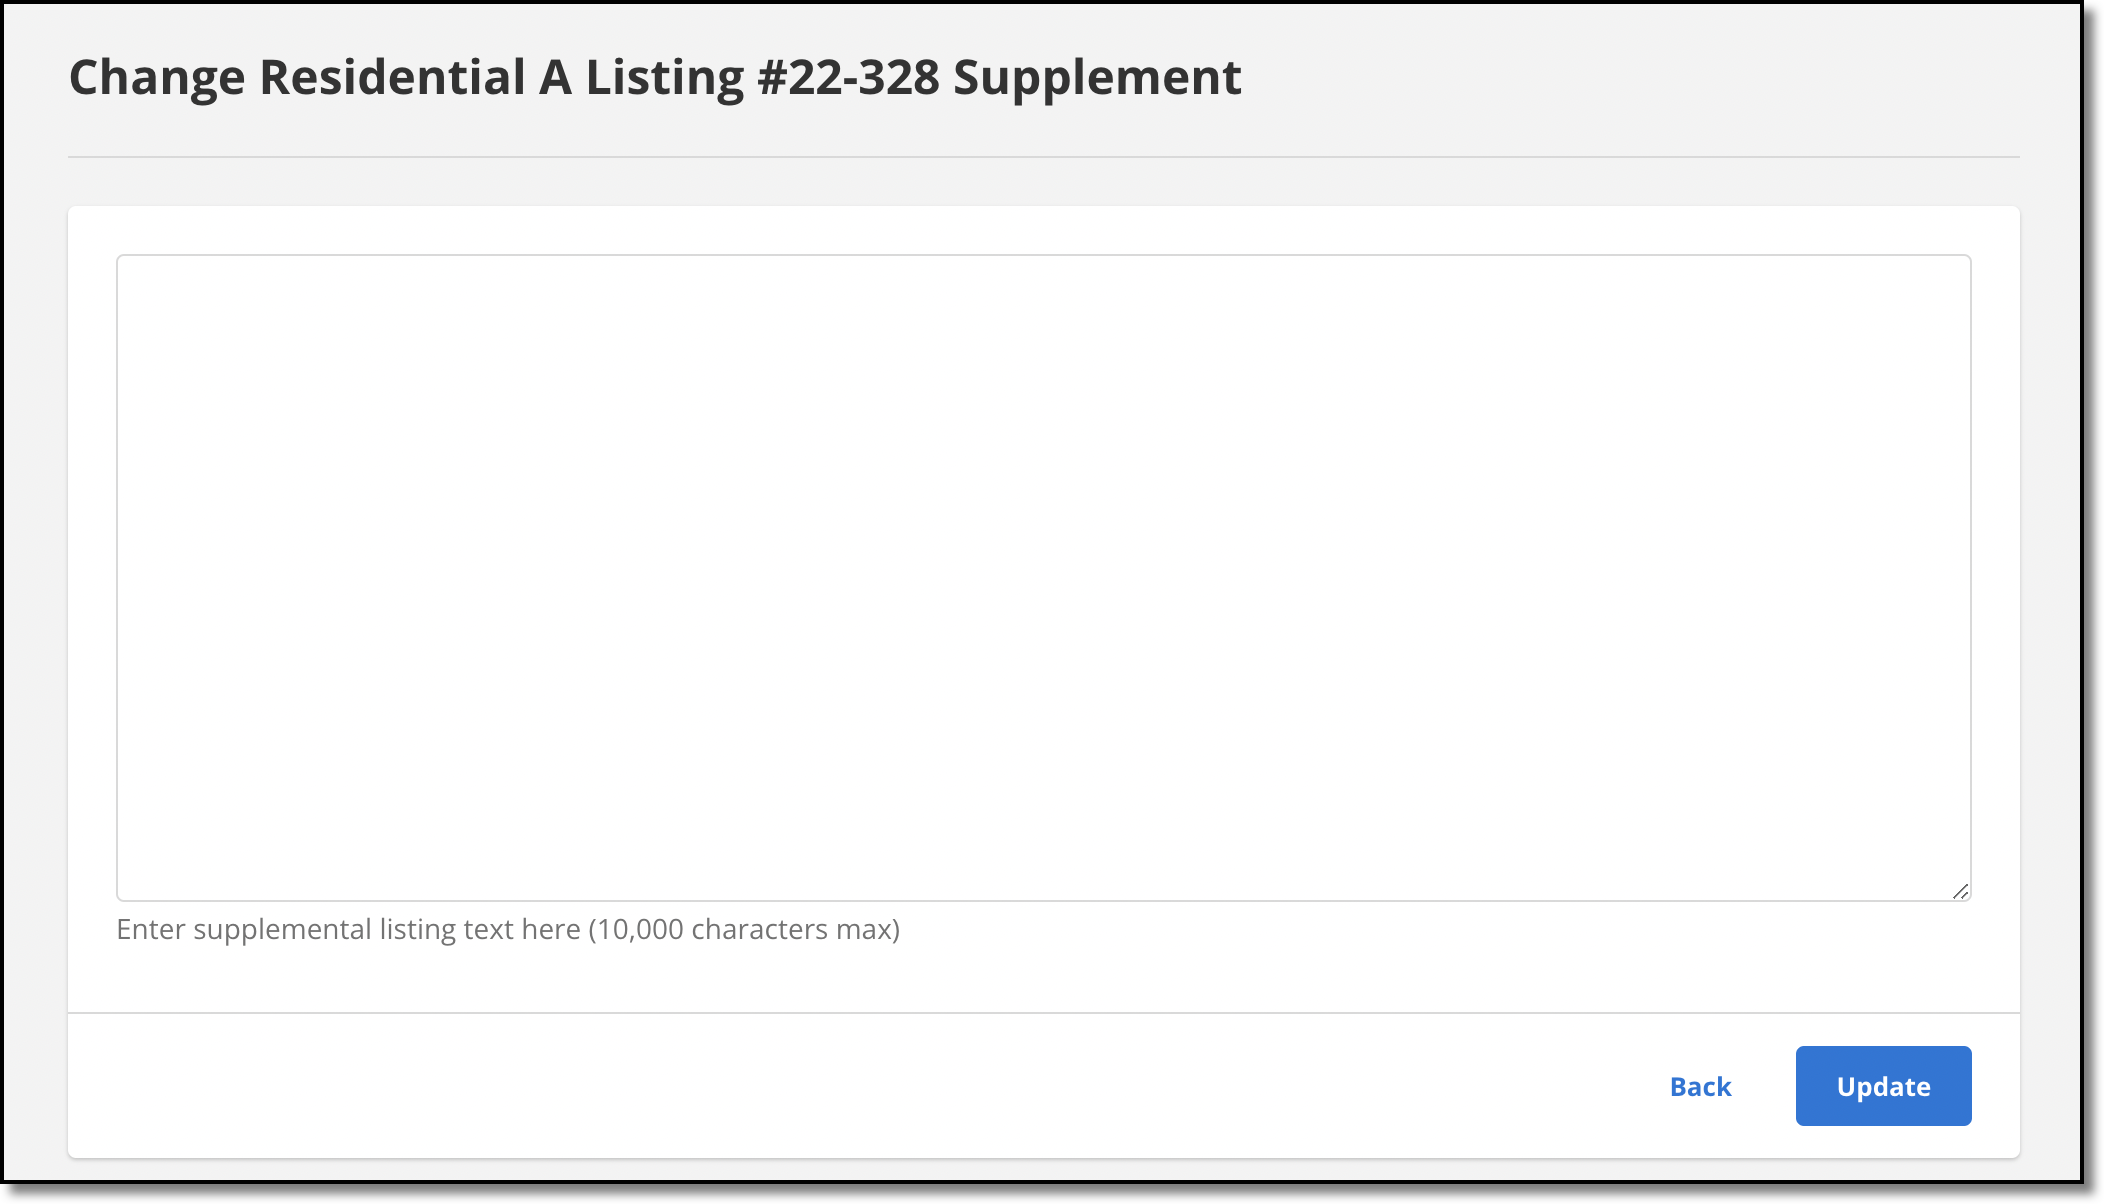
Supplement – Enter additional descriptive information about the listing, directions, legal descriptions, or any other appropriate text. The Supplement text field can contain up to 10,000 characters. When printing listings, you can choose to include or exclude the supplement.
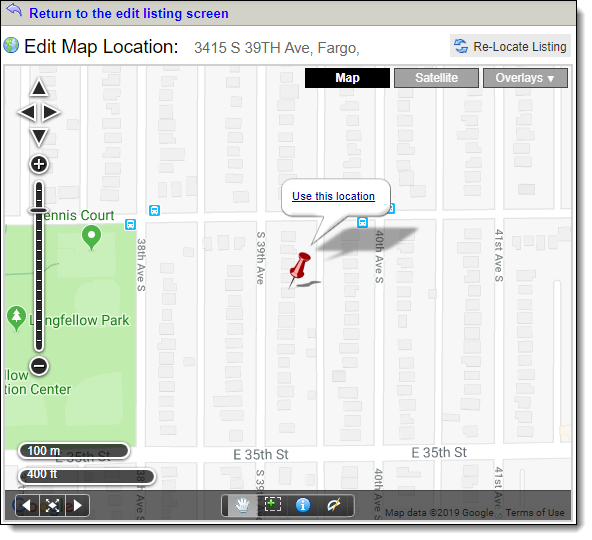
Map Location – Adjust the position of the listing on the map, if allowed by your MLS. The current location is indicated by the pushpin. To attempt to find the map location based on the listing's address, click Re-Locate Listing. You can move the map or the listing pushpin to adjust the location for the listing. To set the location, click Use this location. To cancel, click Return to the edit listing screen.
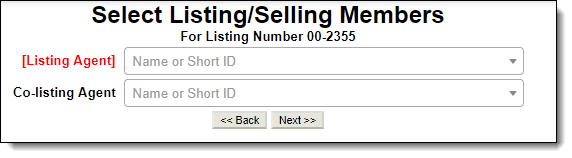
Listing/Selling Members – Change the listing agent or selling agent. Click in an agent name field and begin typing a member's name to find and select them.
Select Children or Add to Parent – If available in your MLS, add children to the selected listing or specify that the selected listing is a child of another listing. For more information, see Parent/Child Listings.