Work on Behalf of a Contact
You can work on behalf of a contact in Flexmls to view or change the searches and listing collections that appear in that contact's Portal. You can also use this function to see the contact's news feed and see which listings the contact has saved as favorites.
Tip
The following Guided Help tours are available for this function in Flexmls. When you click on a link, an instance of Flexmls will open in a new browser tab and instruction bubbles will guide you through the process.
Begin Working on Behalf of a Contact (from Search Results)
You can start working on behalf of a contact while viewing a search results page.
From a search results page, click the Work on behalf of button to open a dialog box where you can enter the name of an existing contact in Flexmls.
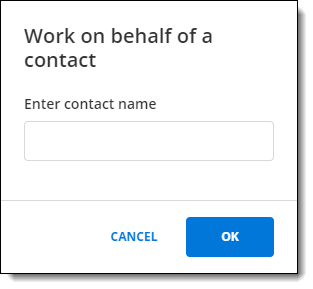
Start typing in the Enter contact name box to locate a contact. As you type, a matching list of contacts is displayed. Click on the name of the contact you want to work on behalf of, then click OK.
What You See When Working on Behalf of a Contact
When you are working on behalf of a contact, a sidebar will be displayed on the left side of the page, showing the news feed, searches, and listing collections that the user can access via the Flexmls Portal.
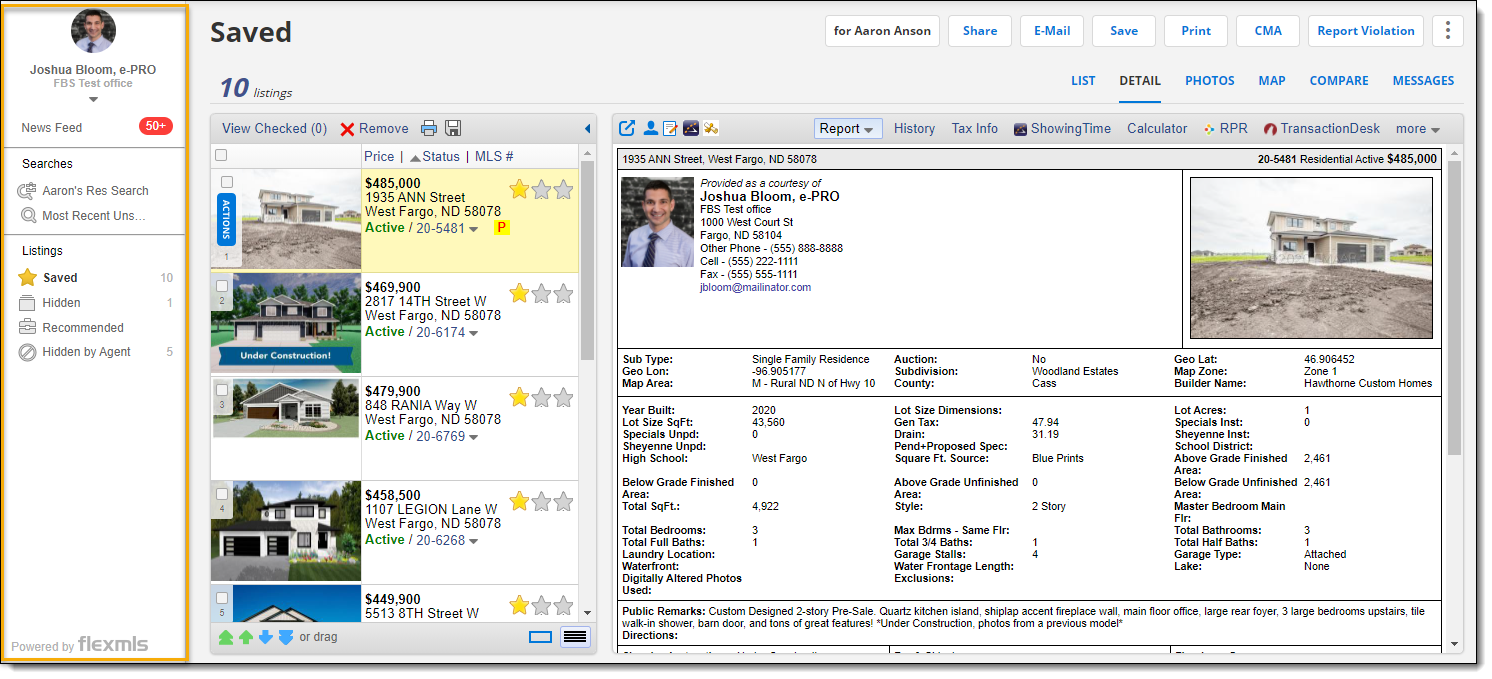
The Searches section shows the searches that are associated with the contact. The Listings section shows the listing collections associated with the contact, including the Saved, Hidden, Recommended, and Hidden by Agent collections.
Note
If you subscribe to Flexmls IDX, the New Search option will also be displayed in the Searches section.
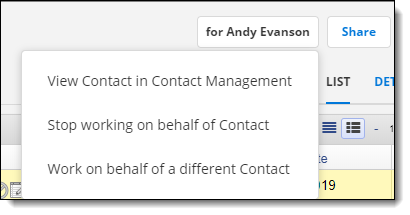
The Work on behalf of button will change to display the contact's name. Click the button for options to view the contact's information in Contact Management, stop working on the contact's behalf, or start working on behalf of another contact.
Work With Listings in a Client's Portal
When you are working on behalf of a contact, the Save, Recommend, Hide, and Listing Notes buttons are available on each listing row. The Save, Recommend, and Hide buttons correspond to listing collections on the client's Portal.
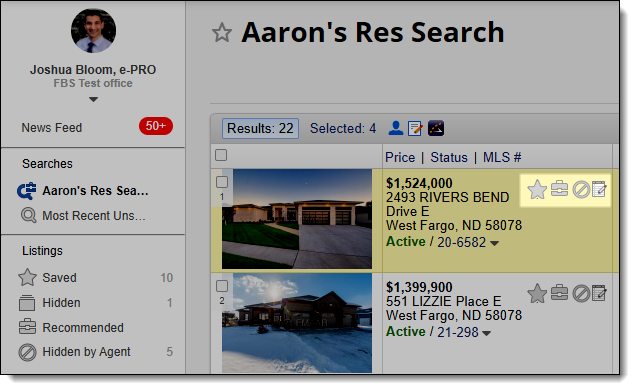
Save (star icon) - Add the listing to the Saved listing collection on the client's Portal. This option is also available to clients when viewing listings. Use the Saved listing collection to keep track of the client's favorite listings.
Recommend (briefcase icon) - Add the listing to the Recommended listing collection on the client's portal. This option is available only to the agent. Use the Recommended listing collection to keep track of listings that you think your client might like.
Hide (circle with slash icon) - Add the listing to the Hidden by Agent listing collection on the client's portal. Use this option to remove a listing from the client's search results and news feed. The client can review these listings by clicking on the Hidden by Agent listing collection. This option is also available to clients when viewing listings. When the client hides a listing, it is moved to the Hidden listing collection.
Notes (notepad icon) - Add notes to the selected listing. Listing notes are specific to a contact and listing combination. Both you and the contact can edit listing notes. You can view listing notes for a contact in Contact Management. For more information, see Listing Notes Tab (Contacts).
You can create new searches and subscriptions for the contact while you are working on their behalf. Enter search criteria, click the Save button, and then click Save Search. The contact's name will appear automatically in the Contact field on the Save Search page.
You can also create new listing collections for a contact while you are working on their behalf. Select the listings that you want to add to a listing collection, click the Save button, and then click Save Selected As. Enter a name for the collection. Be sure to click the checkbox to save the collection for the contact, then click Save.
Begin Working on Behalf of a Contact (from Contact Management)
You can also begin working on behalf of a contact from their contact record in Flexmls.
Click Contact Management under Contacts to open the Contact Management page.
Select the name of a contact and click the Searches/Subscriptions tab.
Select a search on the left, then click one of the View options in the Results section on the right.
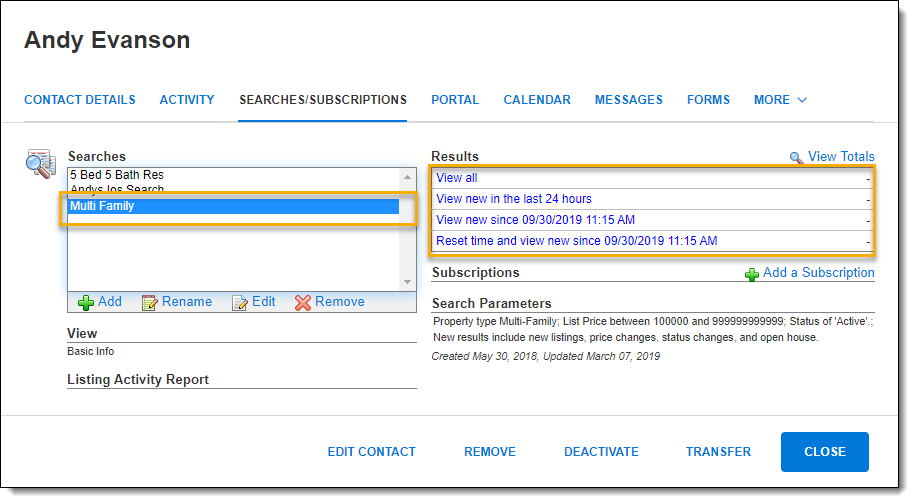
The search results page will open, showing the results of the selected search. The Edit Search tab will not be available when using this method to work on behalf of a contact.