Add Listing
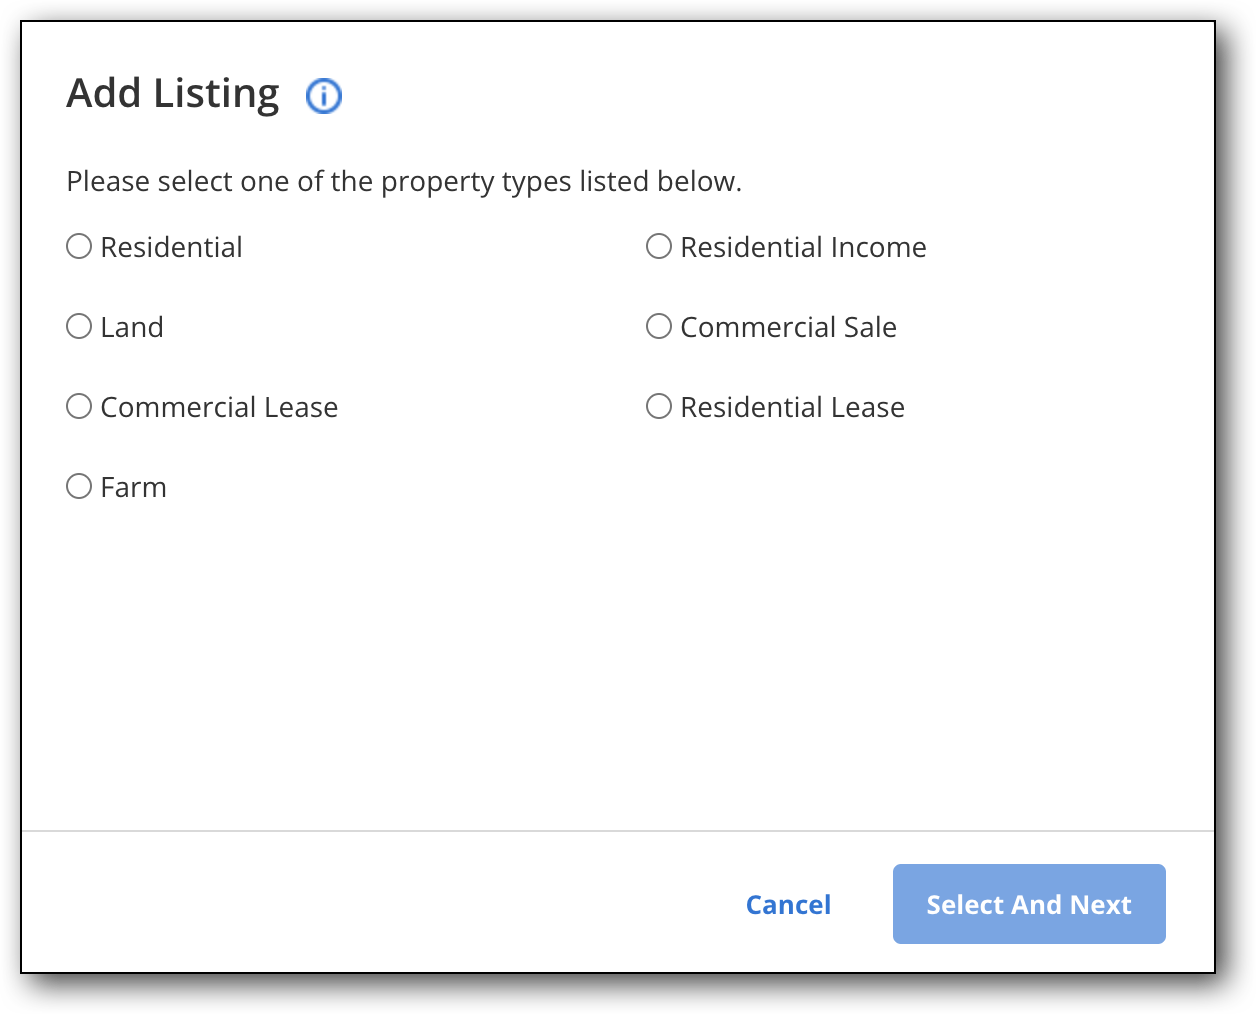
To start adding a listing, select a property type in the pop-up window that appears. Click Select and Next.
Tip
The following Guided Help tour is available for this function in Flexmls. When you click on a link, an instance of Flexmls will open in a new browser tab and instruction bubbles will guide you through the process.
Note
For a video walkthrough on how to add a listing, refer to the Adding a Listing training video.
Enter the General Listing Information, Address, Main Fields, Detail Fields, Rooms information, and Broker Distributions.
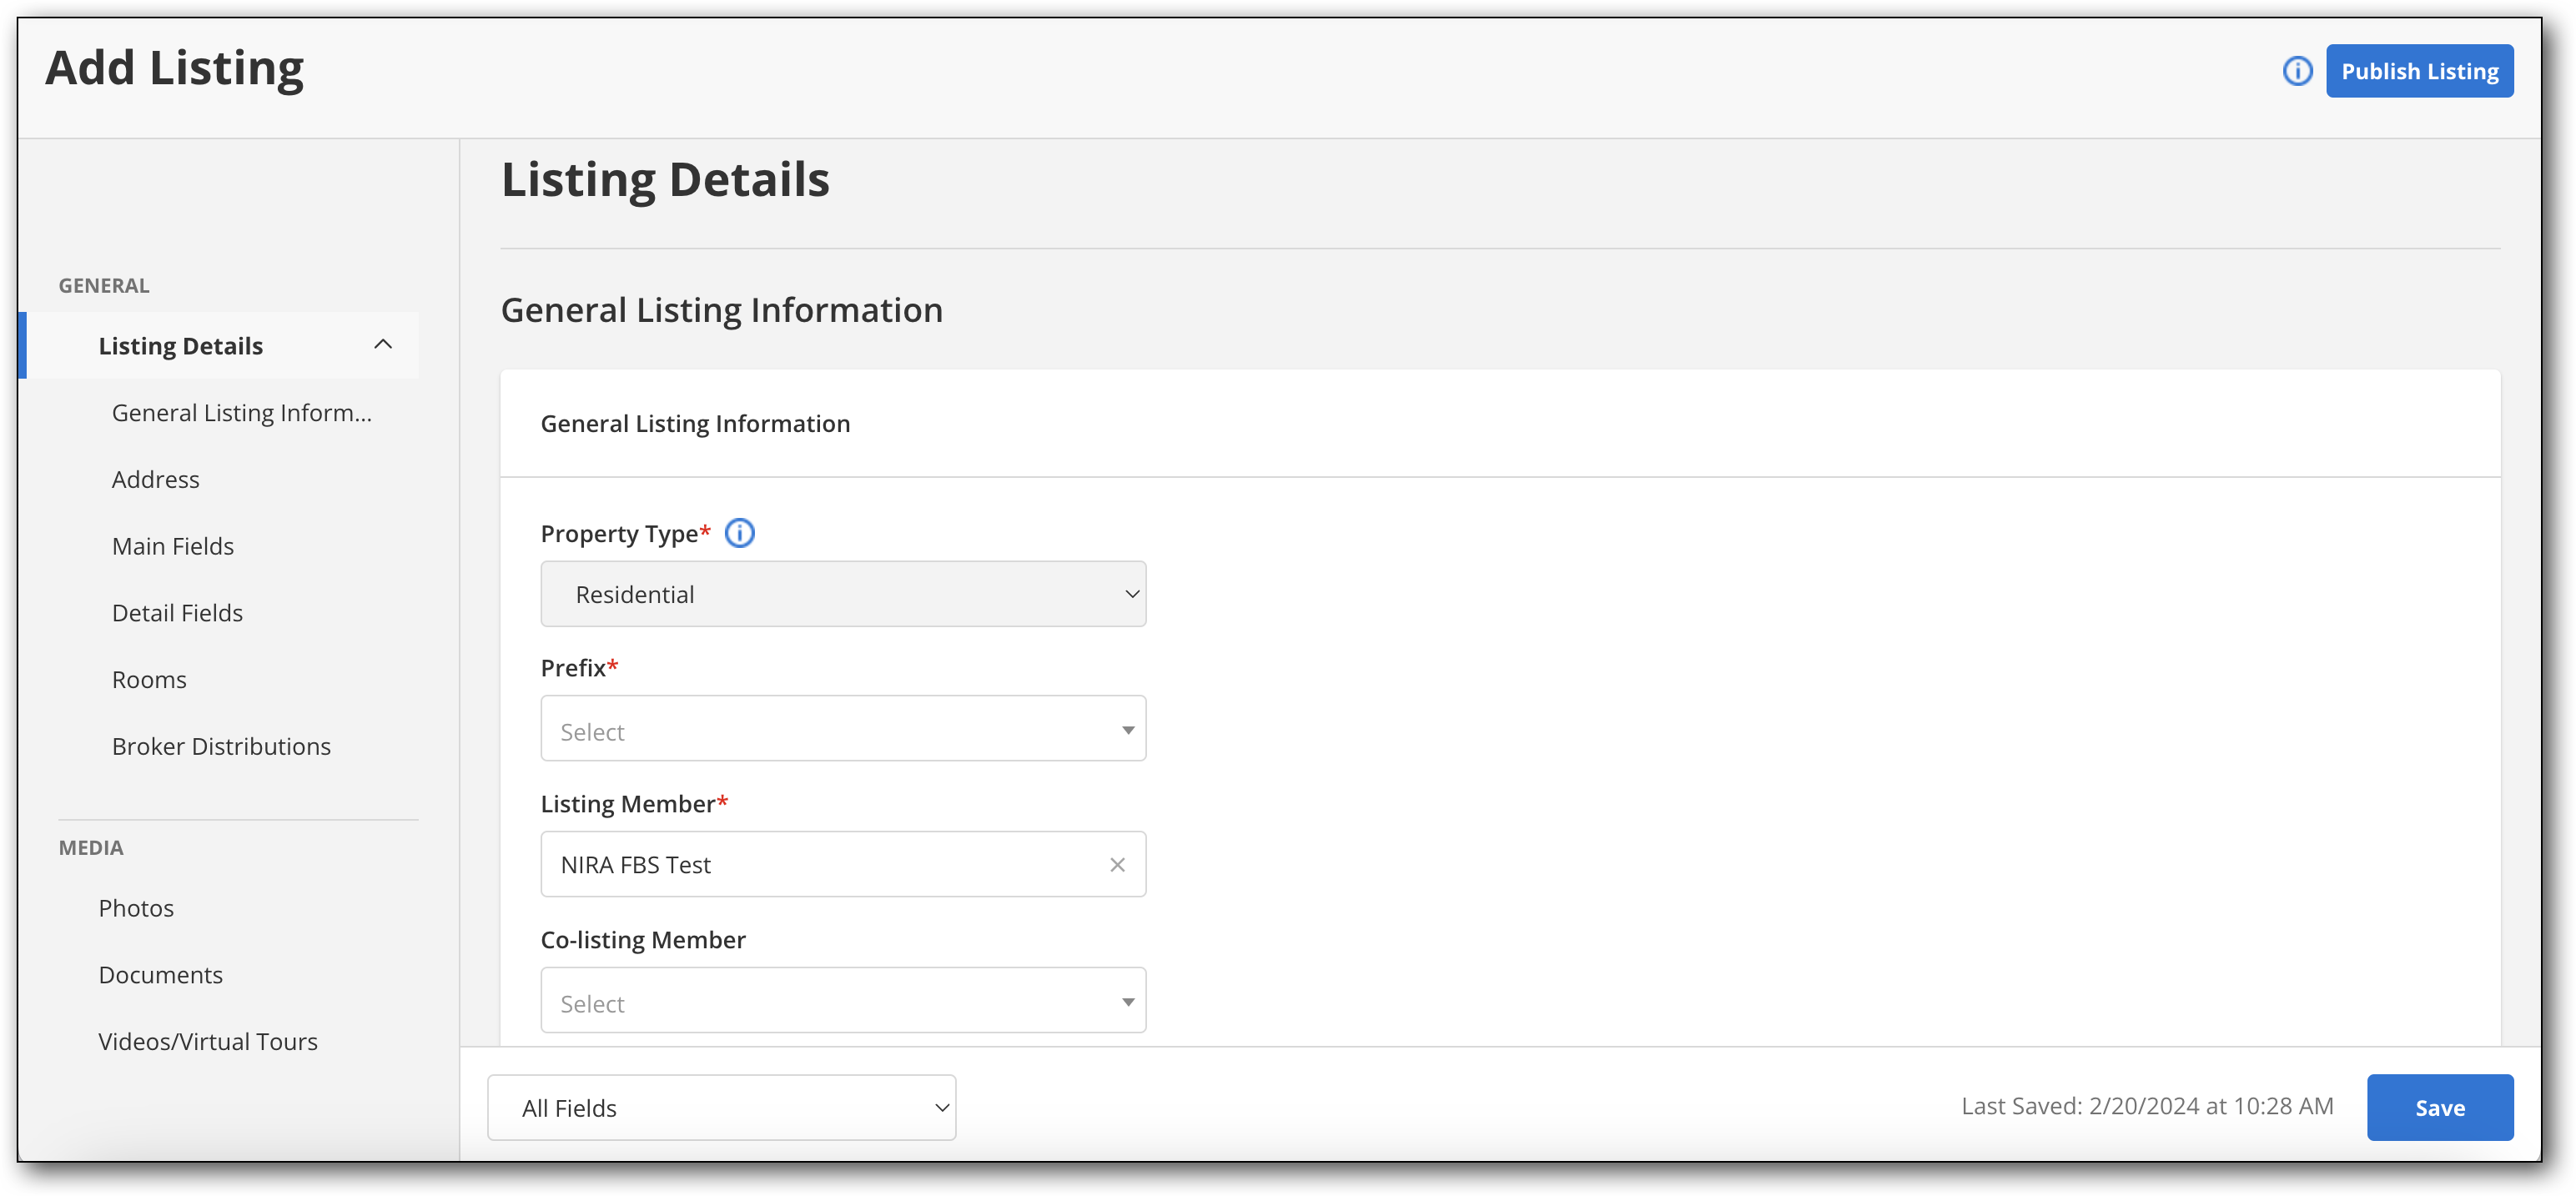
You can also use the navigation menu on the left side of the page to jump to specific sections of the listing input form.
Note
If you are an office administrator or broker, the Broker Distribution subsection will only display once a Listing Member has been selected.
You can use the dropdown menu at the bottom of the page to change which fields are displayed: All Fields, Required Fields Only, Incomplete Required Fields. All Fields displays all fields, regardless of whether they are required or whether they have been completed. Required Fields Only displays only required fields, regardless of whether they have been completed. Incomplete Required Fields displays only fields that are required and that have not been completed. Before you publish a listing, you can filter by Incomplete Required Fields to check which required fields have not been completed.
Click the following links for information on entering listing information in each Add Listing subsection.
While you are entering listing information, you can also add media to your listing, such as photos, floor plans, videos/virtual tours, and documents.
Note
Generally, preliminary listing data must entered first before adding media for this listing.
Refer to the following pages for information on adding media to a listing, including photos, documents, videos, and virtual tours.
Once you are finished entering your listing information, click the Save button on the bottom right. This Save button stores the listing data entered, but when you click Save, you do not exit the page automatically. If you do exit this page, the saved listing data can be accessed from the My Incomplete page.
Click Input Form at the top right to download a PDF of your listing input form with your completed fields. You can save or print this PDF.
Once you are finished entering all your listing information and adding media, you can click Publish Listing at the top right.
To make changes to a listing, go to the Change Listing page.