Subject Tab (CMA)
When you are creating a CMA, use the Subject tab to enter information about the subject property, including the address and any additional descriptive information.
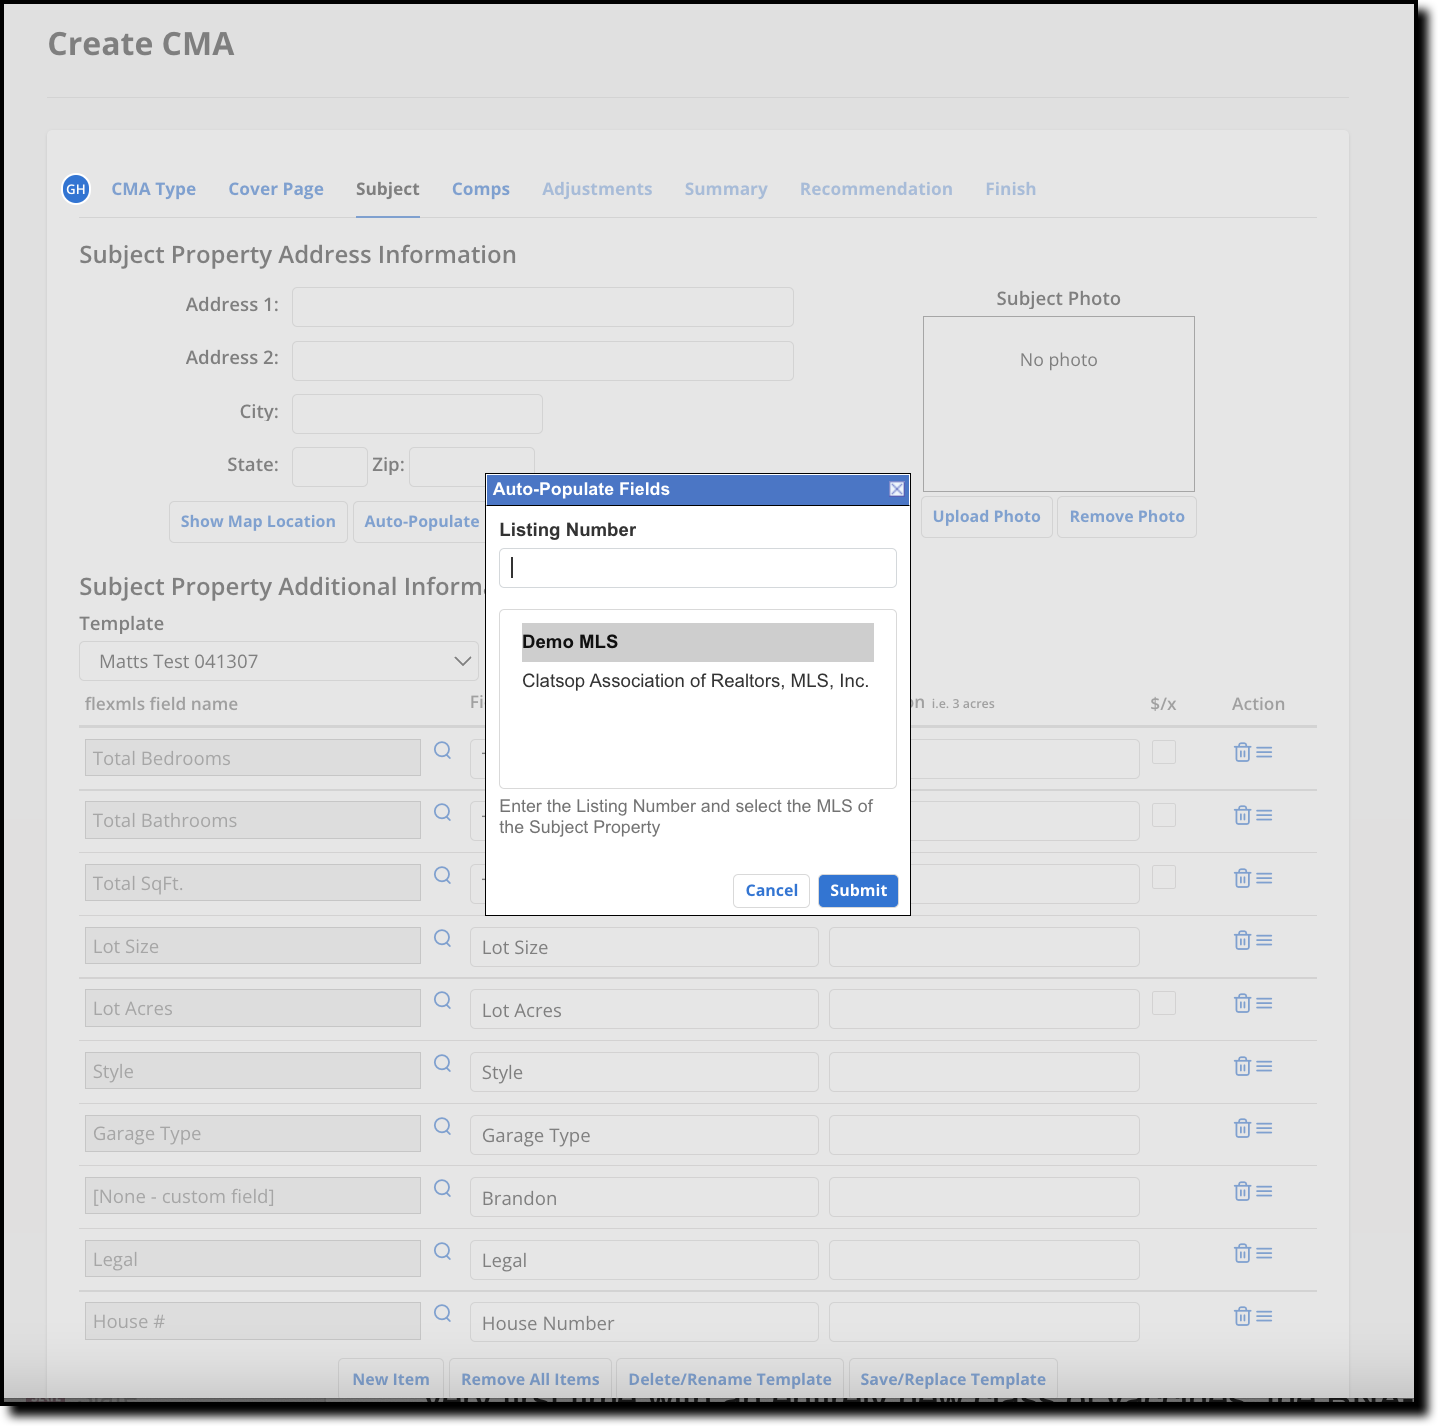
To use information from an existing MLS listing, click Auto-Populate Fields from existing Listing. Enter the MLS number of the subject property and click Submit. The photo, address and description fields will be populated with information from the listing number.
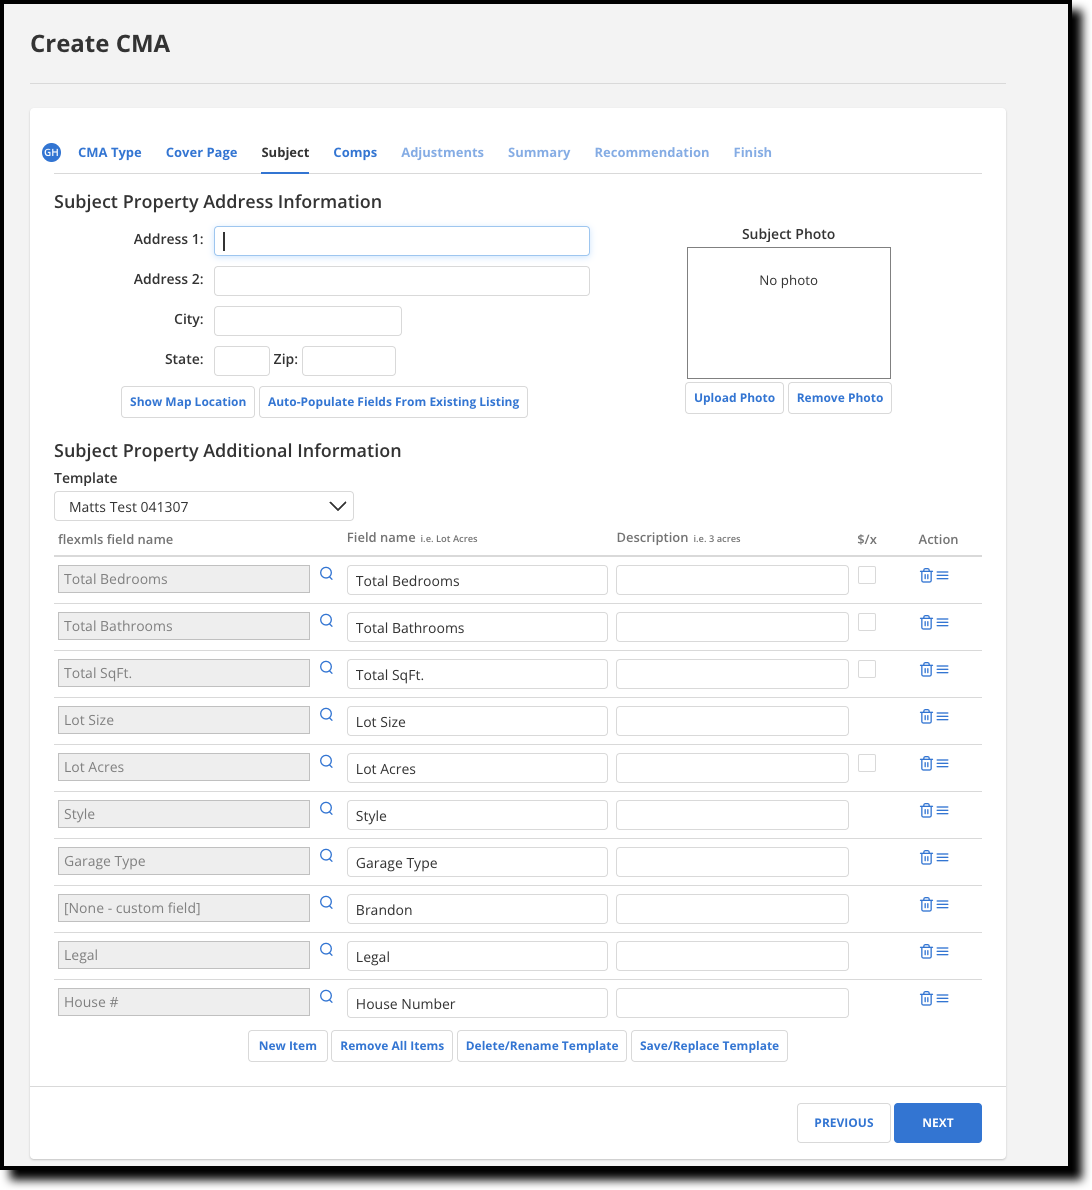
If you are not using an existing MLS listing, enter details manually. Click Upload Photo to load a photo for the subject property. Click Show Map Location to view and/or locate the subject property on a map. Enter the most complete address you can, including ZIP code, because this information will be used to plot the subject on a map with the comparable listings in the final report.
In the Subject Property Additional Information section, enter the details for the subject property. If an existing field template meets your needs, select it from the Template list. The more key data fields you enter, the more complete the comparison will be. Some standard fields will already be selected (such as bedrooms, bathrooms and square feet), allowing you to fill in the appropriate values. To change the name of a field for the CMA, type your preferred name into the Field Name box. To remove a standard field, click the X next to it. To add new detail fields, click the New Item button at the bottom of the page. Then click the drop-down menu to select a database field for comparison. To add a comparison field that is not in the list, type a description. Click the double arrow in the Action column to reorder fields.
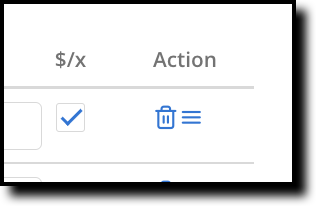
To add a “Price Per” statistic for selected fields on the CMA, click the checkbox in the corresponding $/x column. For example, to show the Price Per Total Bedrooms on the CMA, click the checkbox for that row.
When you are finished specifying detail fields, you can click Save/Replace Template to save the set of fields as a template for future use. The Save CMA Template page will be displayed. Enter a title for the new template, choose to overwrite an existing template, or set the template as the default. Click Save Template or Cancel to return to the subject property details.
When you have finished entering subject property details, click Next Step.